Overview
In this section, you will learn:
How to create a B2B Order on Delhivery One?
Steps to create a B2B order
Navigation
Login to your B2B account on Delhivery One
Go to Left Panel > B2B Orders > Create New Order.
Add LR Number - The first step in creating a B2B order is to add the LR (Lorry Receipt) Number.
LR number is a unique 9-digit number to represent each shipment.
If you already have a pre-generated LR number, you can select “Manual” and enter the LR number.
Alternatively, you can choose to auto-generate the LR number by selecting “Automatic”
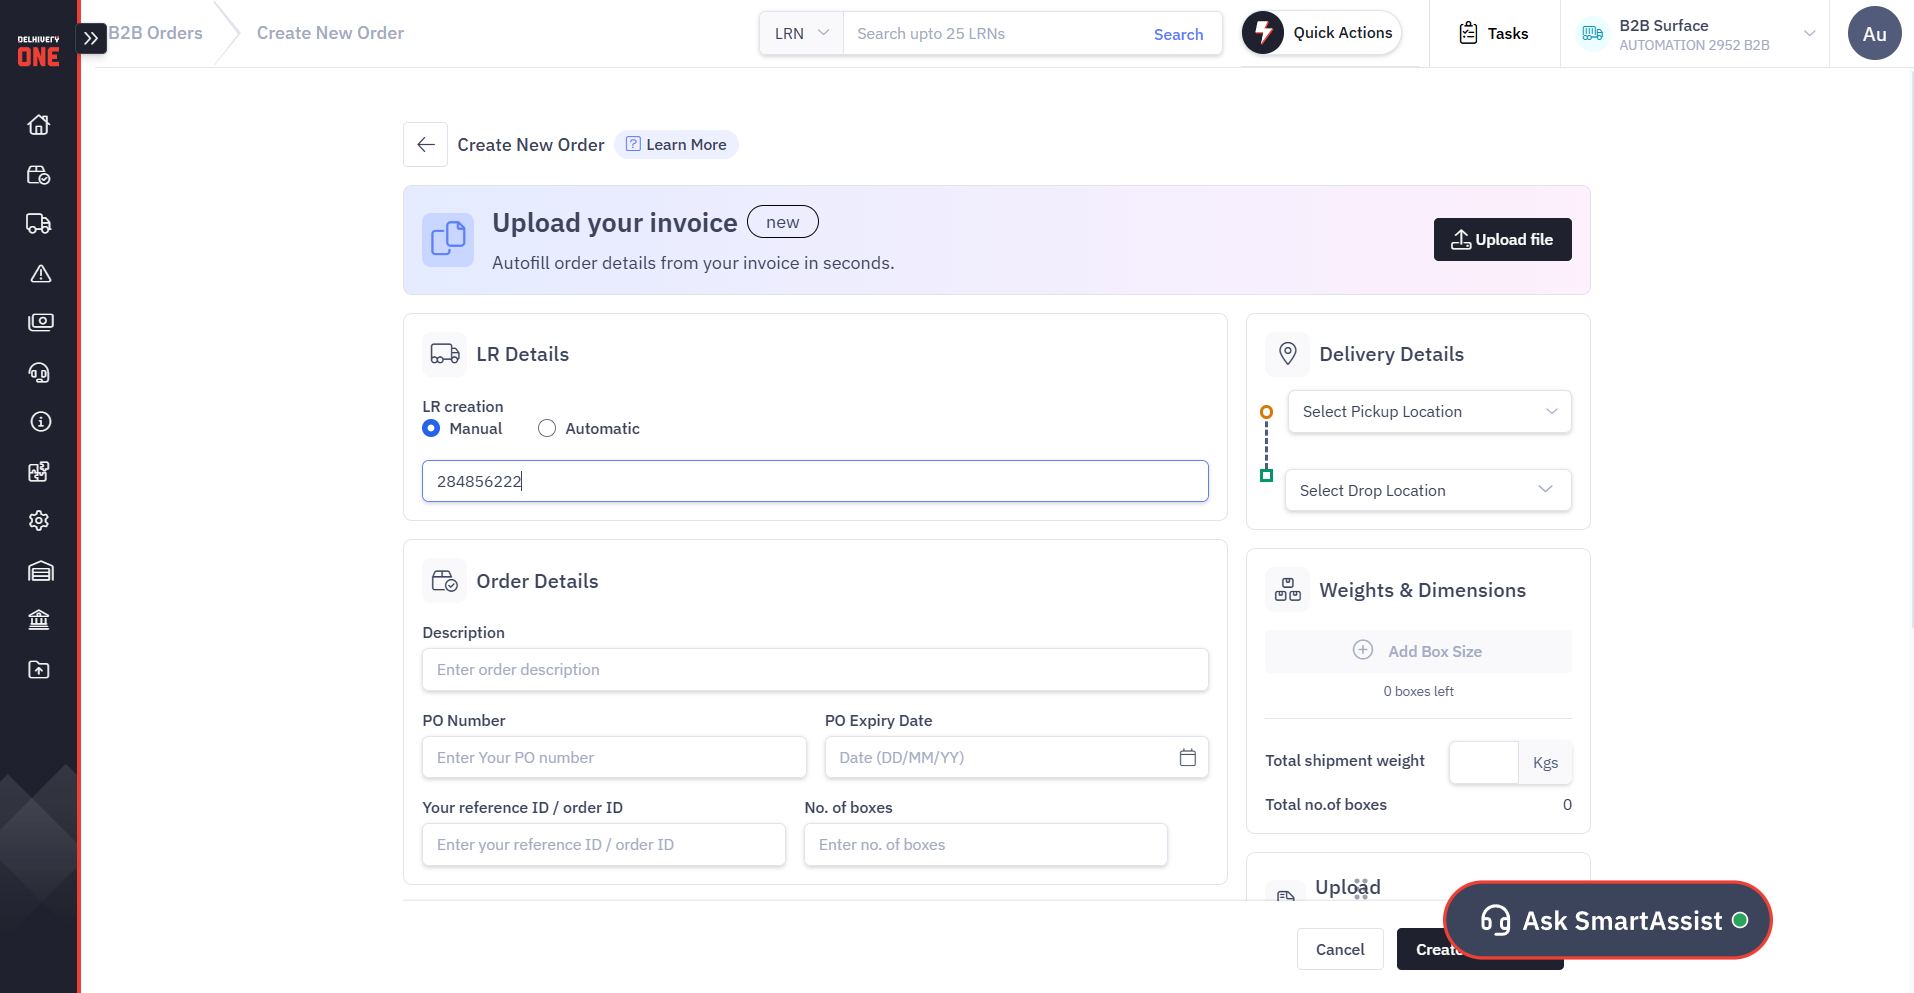
Add Order Details
You need to enter the details of your shipment, such as:Order Description: Description of the shipment. For example - apparel, bulb, shoes etc.
Order ID: Your own reference number to track the shipment on Delhivery One portal. You can add multiple Order IDs under a single LR
Quantity of Boxes: The number of boxes to be picked up.
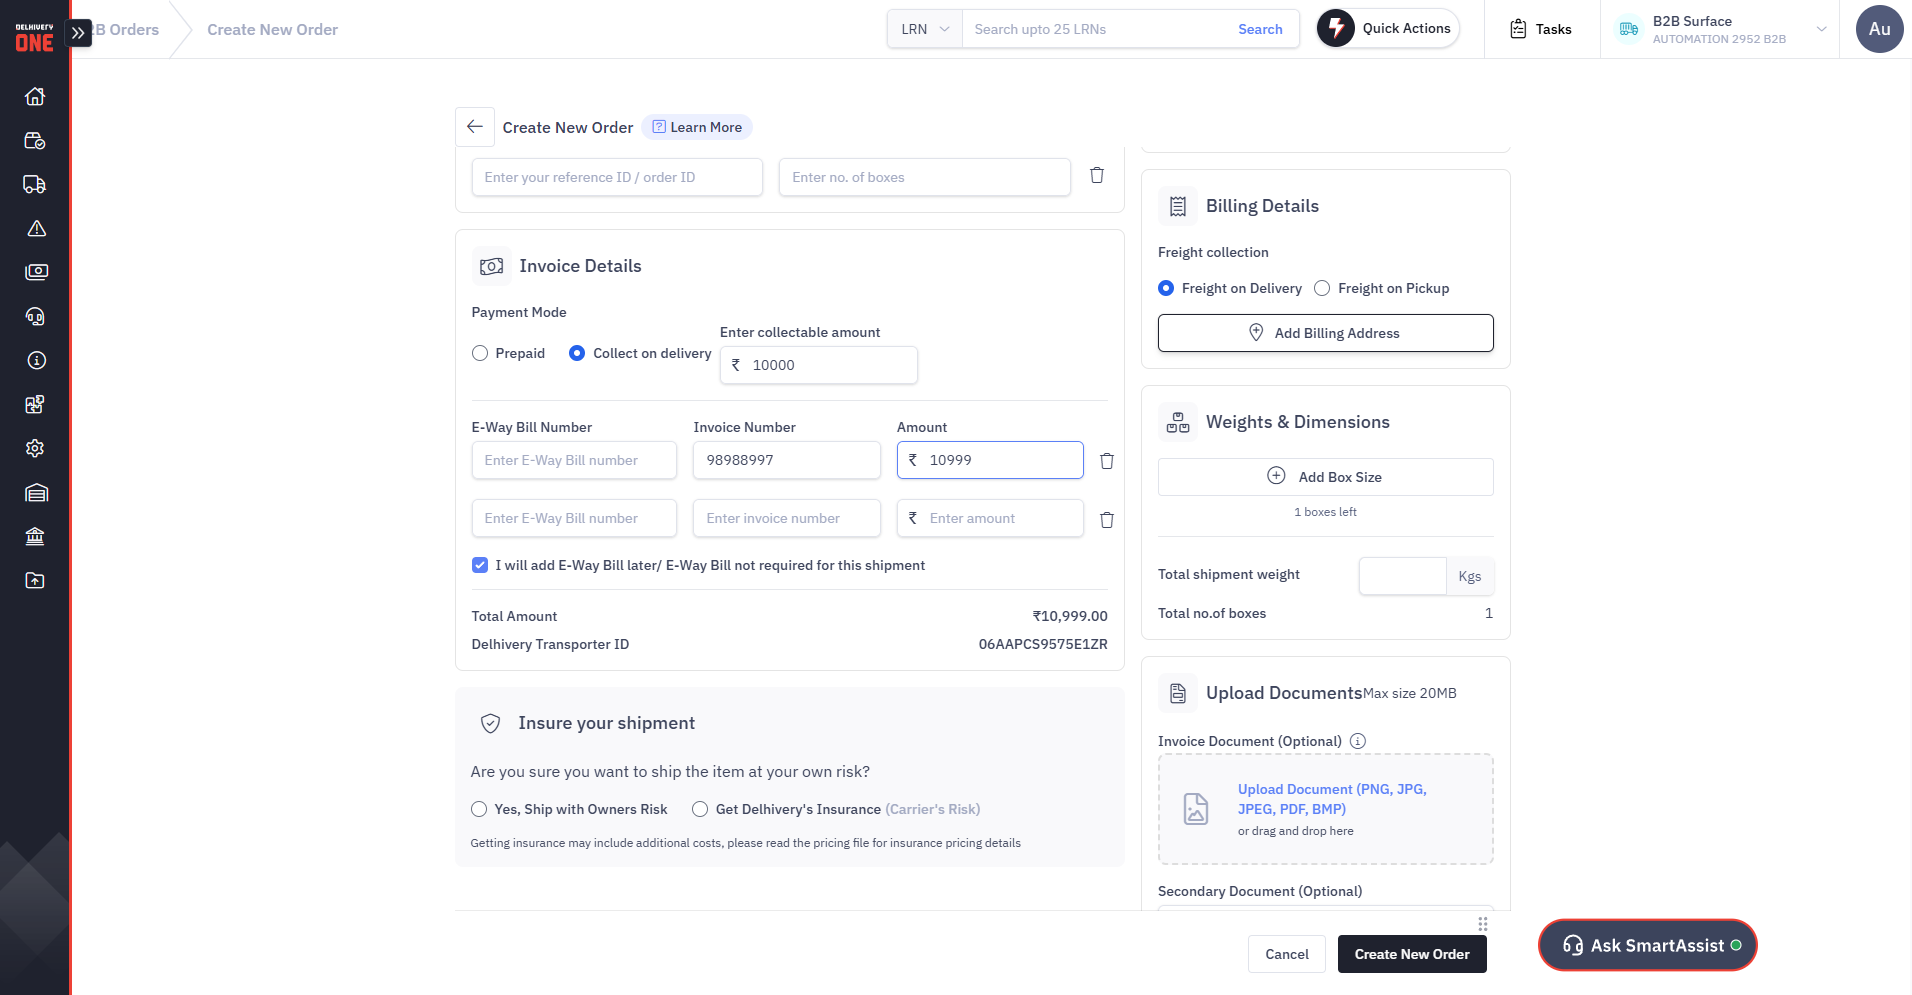
Add Invoice Details
Select Payment mode
Prepaid - Consignee has already paid the Invoice amount while placing the order.
Collect on Delivery (COD) - The amount to be collected from the consignee upon delivery.
Every B2B shipment requires a GST-compliant invoice. If your shipment value exceeds ₹50,000, you need to add a valid E-way bill number.
The invoice number and amount will auto-populate once you have entered a valid E-way bill number.
You can enter more than one invoice number/E-way bill number to an LR.
Add Pickup Location
Select the location from where the Delhivery agent will collect your shipment.If it’s an existing Pickup Location, select it from the drop-down list.
Otherwise, you can create a new Pickup Location while creating a Sale order.
Add Drop Location
Select the delivery destination for your shipment.Select Billing Details
Bill to Client: The shipping cost will be billed to you.
Freight on Delhivery: Your consignee will pay the shipping cost on delivery.
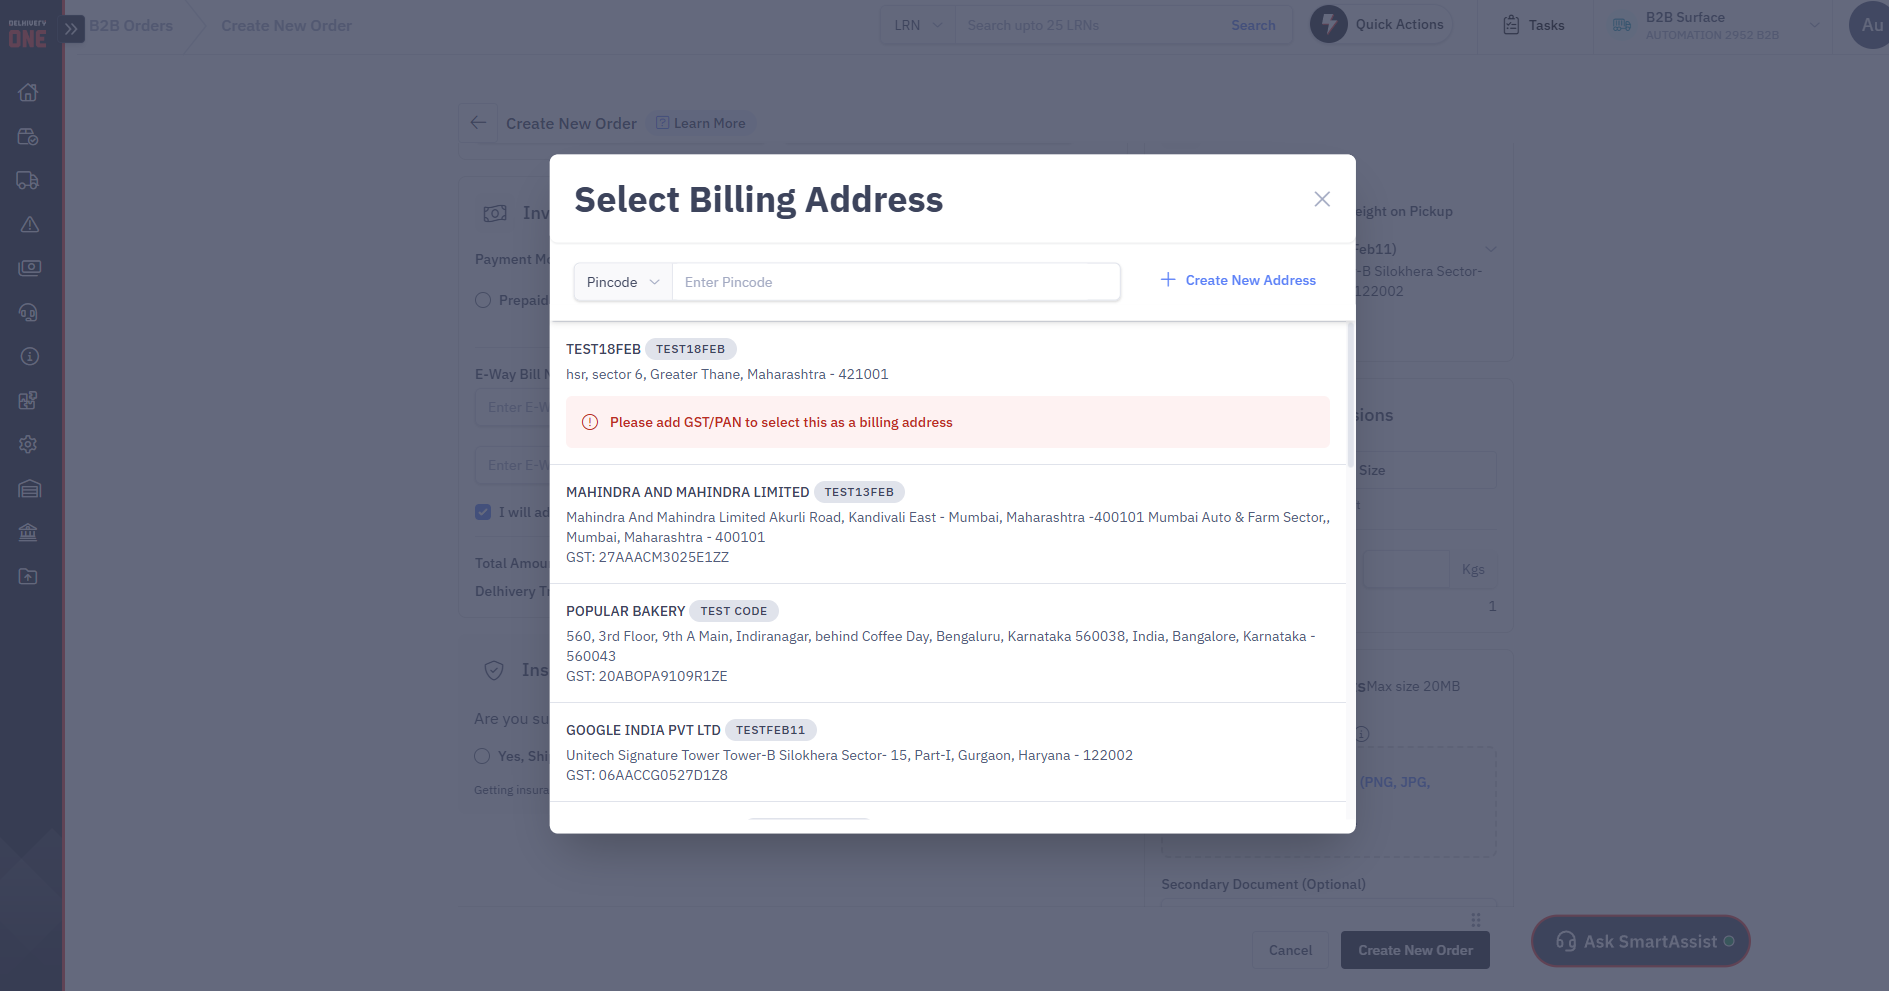
If you choose Freight on Delivery, you will need to select the billing address, including GST/PAN details
You can search and select from the available list of address
Otherwise, click on Create New Address to add a new billing address.
Add Box Details
Under Weight & Dimensions, click Add Box size and enter the number of boxes and their associated dimensions (length, breath, height)
For example, if your order consists of 7 boxes, with 5 boxes measuring 10 cm x 10 cm x 10 cm and 2 boxes measuring 5 cm x 5 cm x 5 cm, enter "5" for the first set of dimensions (10x10x10). Then click Add Another Box Size to input the details for the second set (2 boxes, 5x5x5).
Enter the total shipment weight in kilogram (kg) i.e the combined weight of all the boxes.
.png)
Upload Documents
Invoice Document:
Uploading an Invoice Document is mandatory.
You can upload the invoice copy by clicking on Upload Document.
Supported formats include .png, .jpg, .jpeg, .pdf, or .bmp, with a maximum size of 20 MB
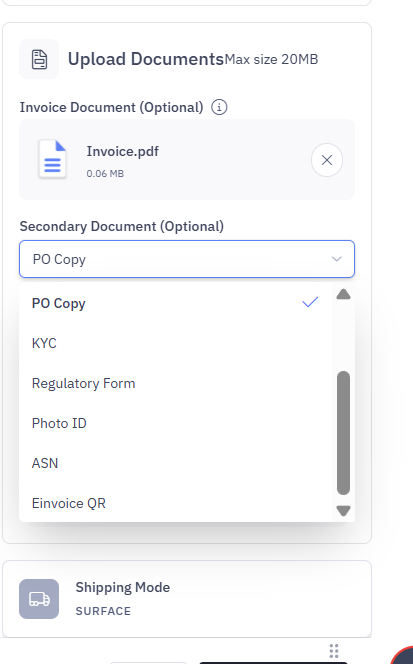
Secondary Document: Other documents can also be uploaded under Secondary Document by selecting the document type from the dropdown list. Available document types include:
E-waybill form
Goods declaration
Delivery challan
PO copy
KYC
Regulatory form
Photo ID
ASN
E-invoice QR
LR Creation & AWB Generation
Once all required fields are filled, click Create New Order.
A pop-up window will display the freight charges. Tap Yes, Create Order to confirm.
You will be redirected to the Tasks page.
If you opt for auto-generation of the LR number, the system will assign one.
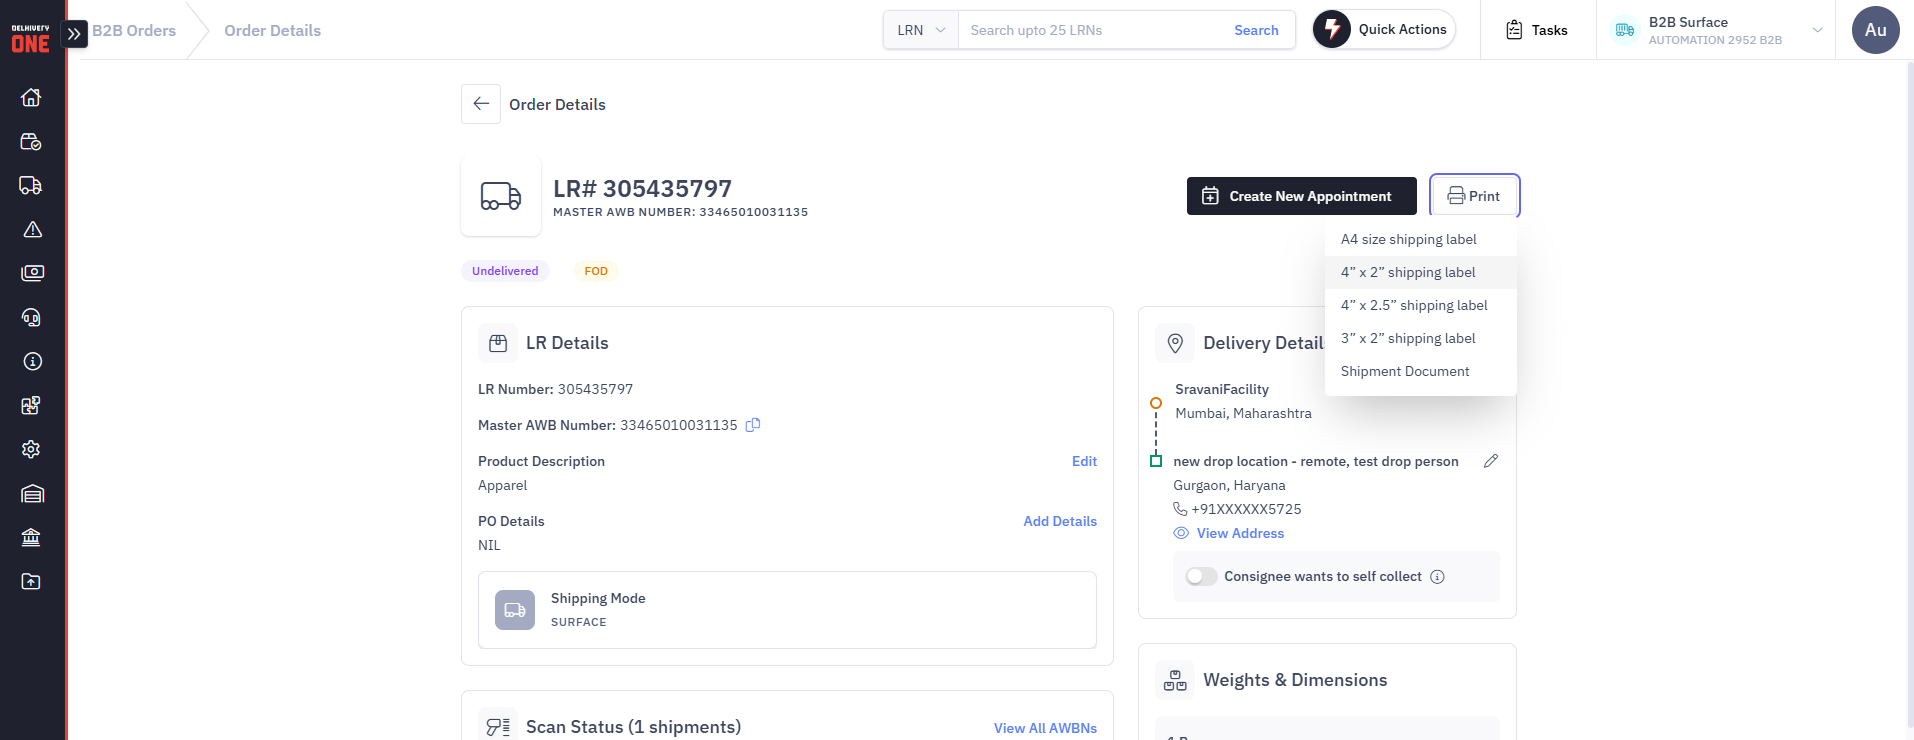
The LR number will initially be in the Undelivered state.
Clicking the LR number will display the Master AWB assigned to it on the order details page. For more details, refer to B2B order details page.
To view the child AWBs, tap on View All AWBNs next to Scan Status.


.png)
Once a B2B shipment is created, if you want delhivery to pickup your shipments, you need to raise a request. Learn how to create a pickup request for your B2B shipments.
How to check Self Drop locations on Delhivery One?
If you wish to drop off your B2B shipments at one of our locations instead of arranging a pickup, you can check our Self Drop locations.
Note: This option is available only for manifested shipments.
Login to your B2B account on Delhivery One
Navigate to the Left Panel > B2B orders > Manifested
Enabled the toggle button - I want to self-drop
This displays the self-drop locations for each shipment
How to print shipping labels & waybills from Delhivery One?
After you have manifested an order, the next step is to print shipping labels & way bills. You need to paste the printed shipping labels on your shipments prior to the pickup. This is a mandatory step required for a successful pickup of your shipments.
You can either print labels & waybill copies for a single or multiple shipments at a time.
Steps to print shipping labels & waybill copy for a single shipment
Login to your B2B account on Delhivery One
Navigate to the Left Panel > B2B orders > Manifested and open the required LR number.
On the order details page, tap the Print option in the top-right corner.
You can print labels in sizes A4, 4"x2", 4"x2.5", or 3"x2"
After selecting the label size, you will be redirected to the Tasks page, where a task a created to download the PDF of the shipping label.
Steps to print shipping labels & waybill copy for multiple shipments
Login to your B2B account on Delhivery One
Go to the Left Panel > B2B Orders > Manifested and select the checkbox of the required LR numbers.
Click Print Shipping Labels or Waybill copy. In case of shipping labels, select the required label size
You will see a message - ‘Your request to print is under process. Click here to see the status’, proceed to click.
You will be redirected to Tasks > Print Requests. A task is created here, once completed you can click on Download PDF
How to bulk create B2B orders on Delhivery One?
If you have multiple shipments to be manifested, you can save time by using the bulk upload feature.
Steps to upload B2B orders in Bulk:
Login to your B2B account on Delhivery One
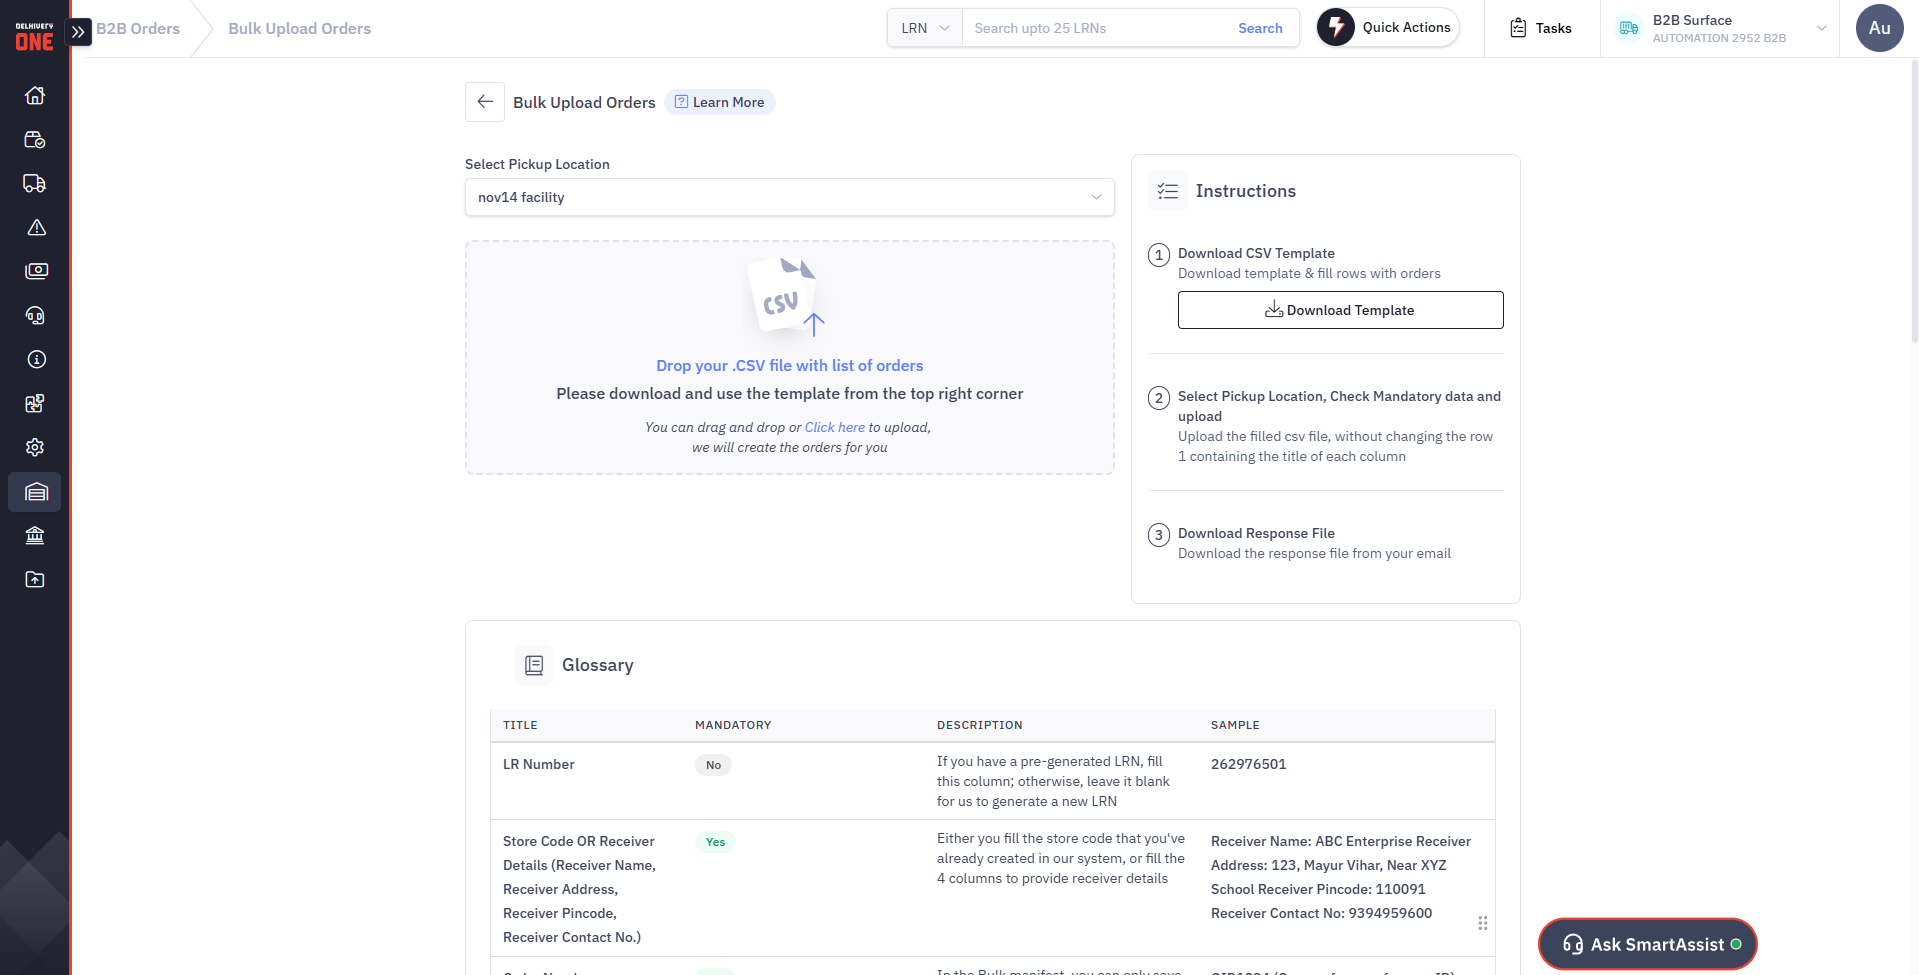
Navigate to Left Panel > B2B Orders > Bulk Actions > Upload Bulk Orders
Select the Pickup Location
Select the location from where the Delhivery agent will collect your shipment.
If it’s an existing Pickup Location, select it from the drop-down list.
Otherwise, you can create a new Pickup Location while creating a Sale order.

Download the Sample CSV Template
Click ‘Download Template’ under instructions, and save the template file in XLS format that is generated.
Open & fill in the required information in the template, ensuring all mandatory fields (marked with an asterisk *) are filled.
You can refer to the glossary for more details regarding the fields in the sample template.
The first two rows in the template file have sample data, which you can refer to for sample values/format of each column. Please make sure to delete these rows before saving the file.
Once all fields are updated, save and upload the file.
Once the file is uploaded without any errors, the orders will be created under the "Manifested" state.
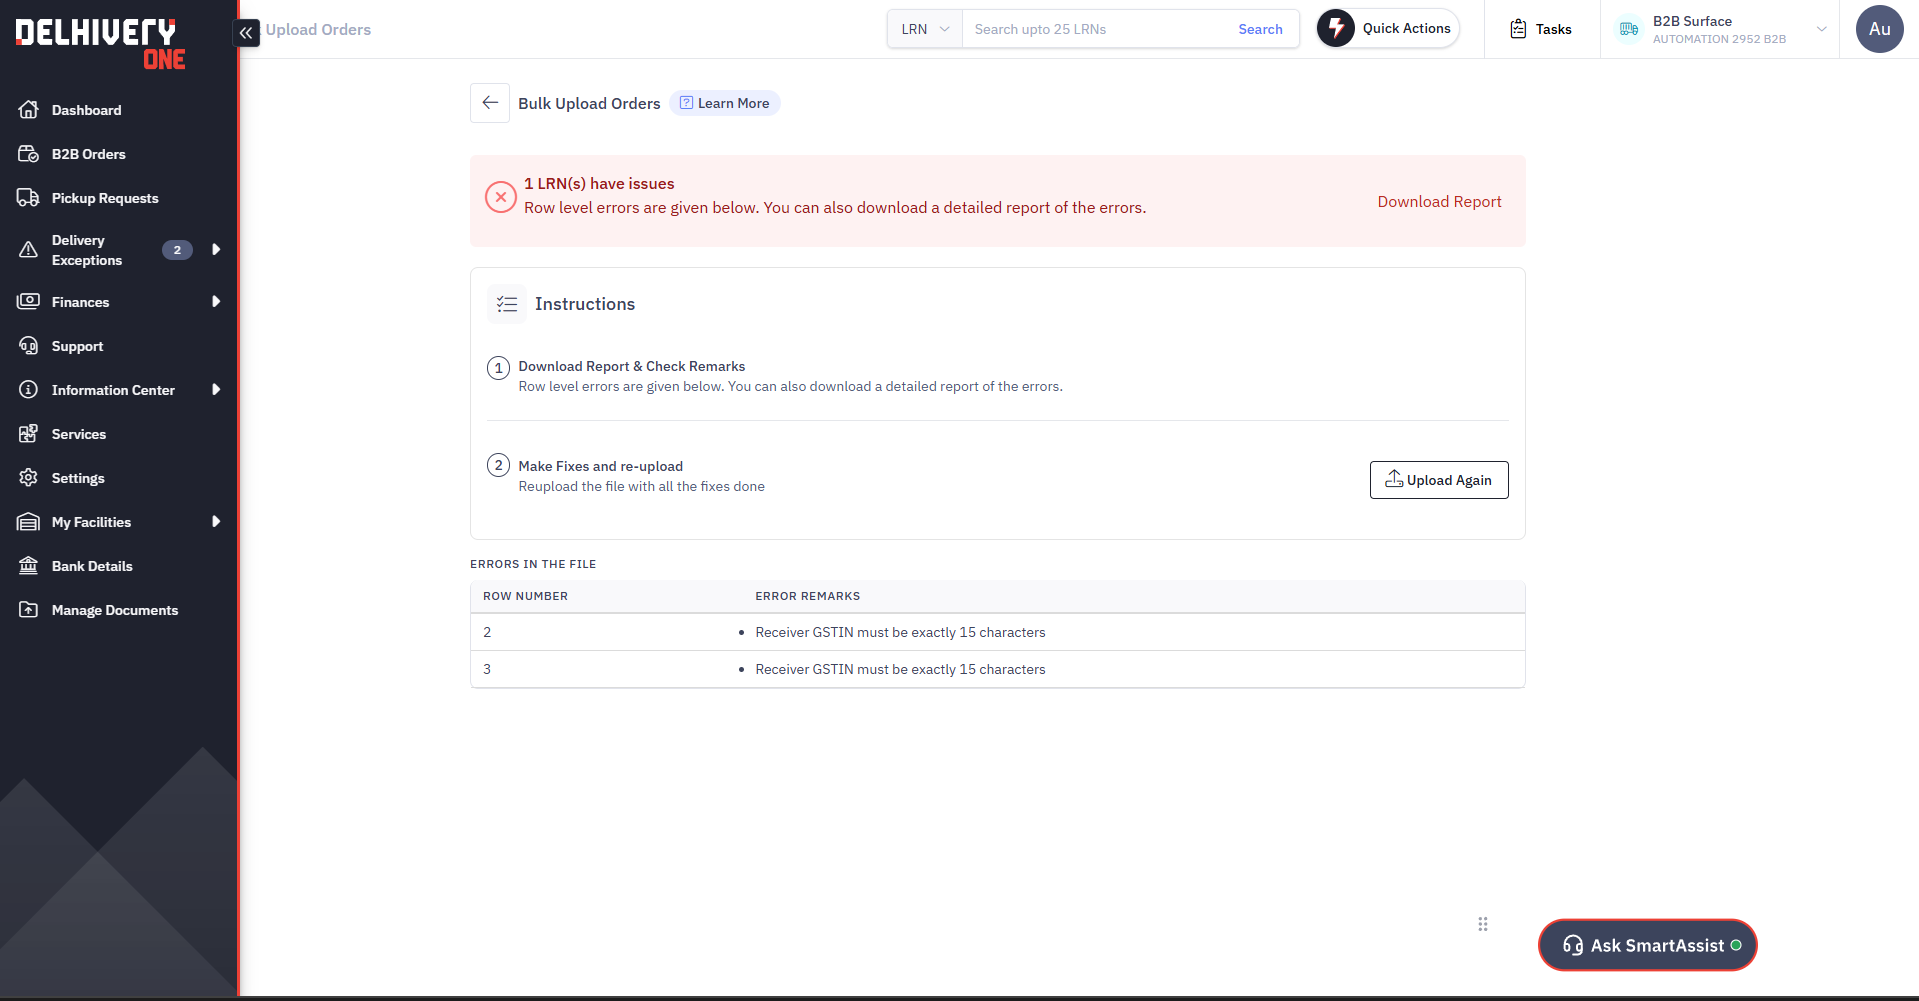
Error Handling
After uploading the file, if there are any errors in the file, you will have the option to view and download an error report.
Click Download Report, this downloads CSV file with error remarks
Review and resolve the errors and re-upload the corrected file.
Once the file is uploaded without errors, the orders will be created under the "Manifested" state.
How to bulk upload sale invoices / e-way bills on Delhivery One?
This feature enables you to upload sale invoices and E-way bills in bulk, mapped to specific LR numbers.
Invoice: A formal document detailing goods sold, including descriptions, quantities, and prices. An invoice number and invoice document are mandatory for every shipment.
E-way Bill: A document specifying the movement of goods. For invoice values above INR 50,000, an E-way bill number and document are required as per GST regulations in India.
Steps to bulk upload sale invoices & e-way bills:
Navigation
Login to your B2B account of Delhivery One
Go to the Left Panel > B2B Orders > Manifested > Bulk Actions > Bulk Update Invoices / E-way Bills.
Download sample CSV template
Click ‘Download Template’ under instructions on the right, and save the CSV format template file.
Open & fill in the required information in the template.
You can refer to the glossary for more details regarding the fields in the sample template.
Once all fields are updated, save and upload the file.
Once the file is uploaded without any errors, the invoice / e-waybills will be assigned to the respective shipments.
Error Handling
After uploading the file, if there are any errors in the file, you will have the option to view and download an error report.
Click Download Report, this downloads CSV file with error remarks
Review and resolve the errors and re-upload the corrected file.
Once the file is uploaded without any errors, the invoice / e-waybills will be assigned to the respective shipments.
How to track B2B orders on Delhivery One?
A B2B order goes through the below order states in its life cycle. You can track your B2B orders accordingly on Delhivery One.
Steps to track your B2B orders:
Navigation
Login to your B2B account on Delhivery One
Go to the Left Panel > B2B Orders
You can view 4 tabs on your left for each order states mentioned above.
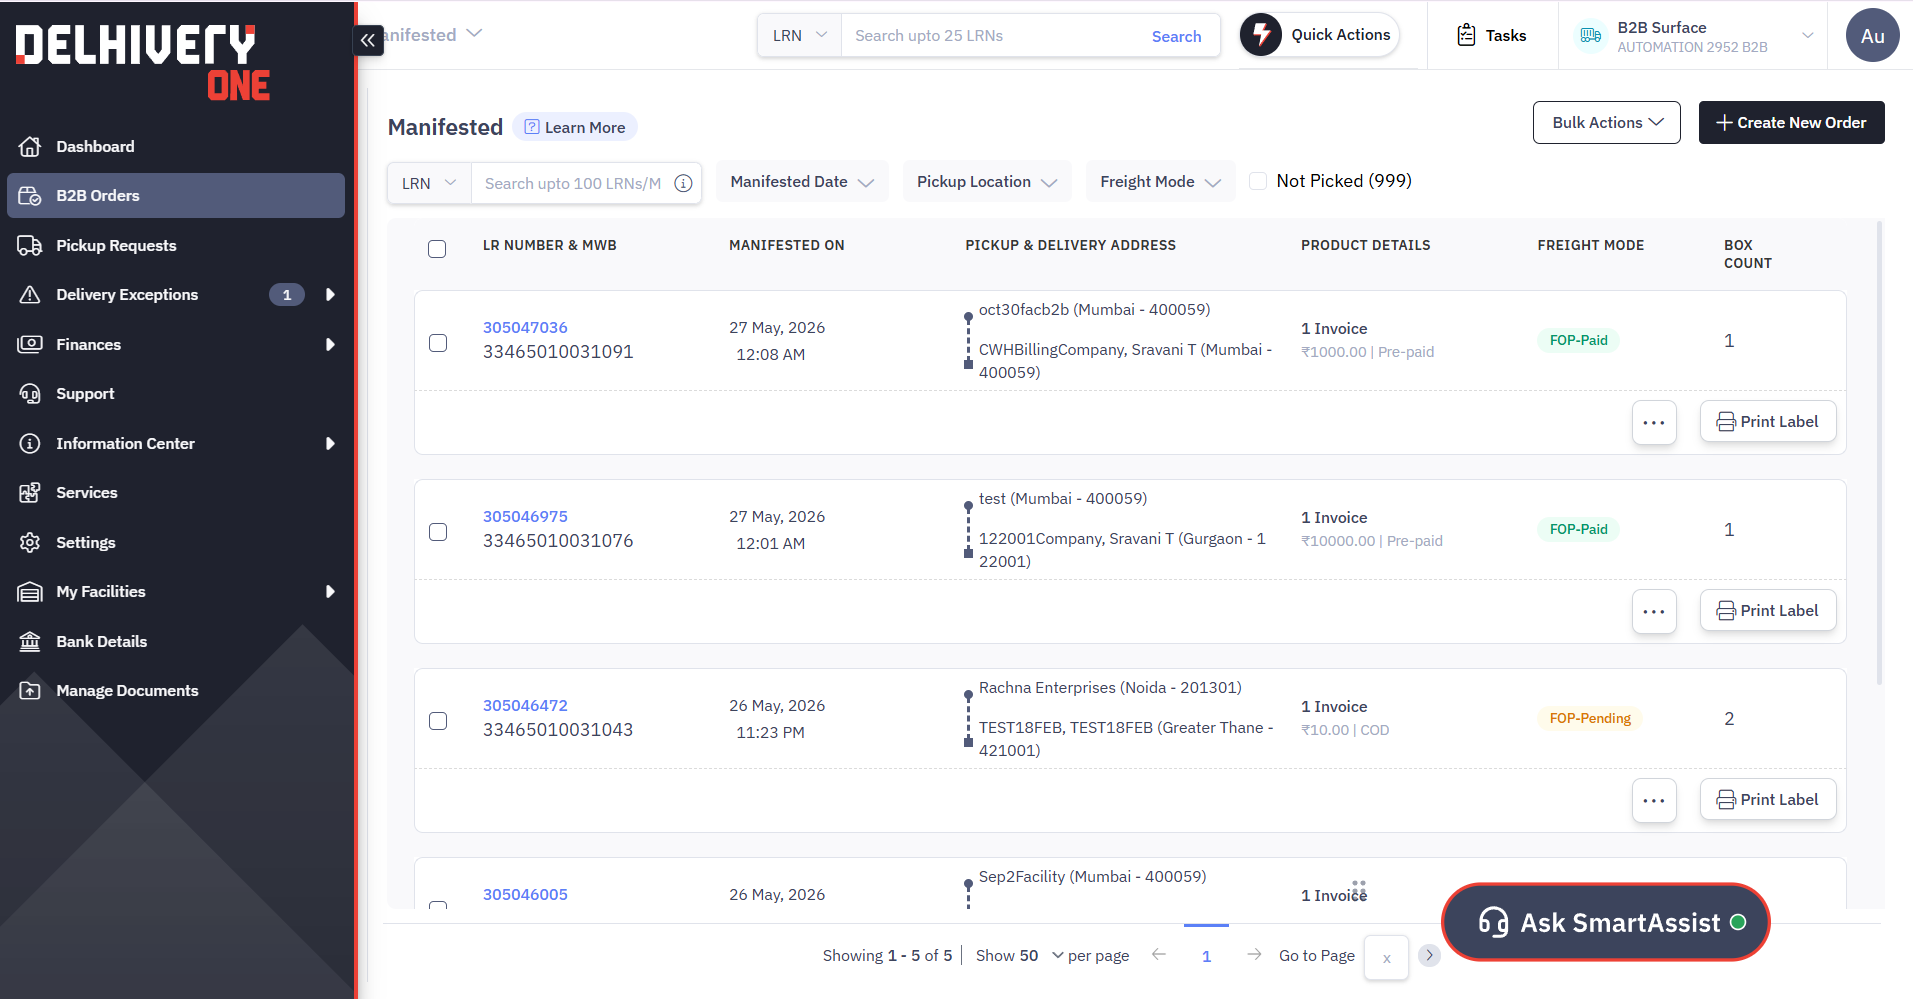
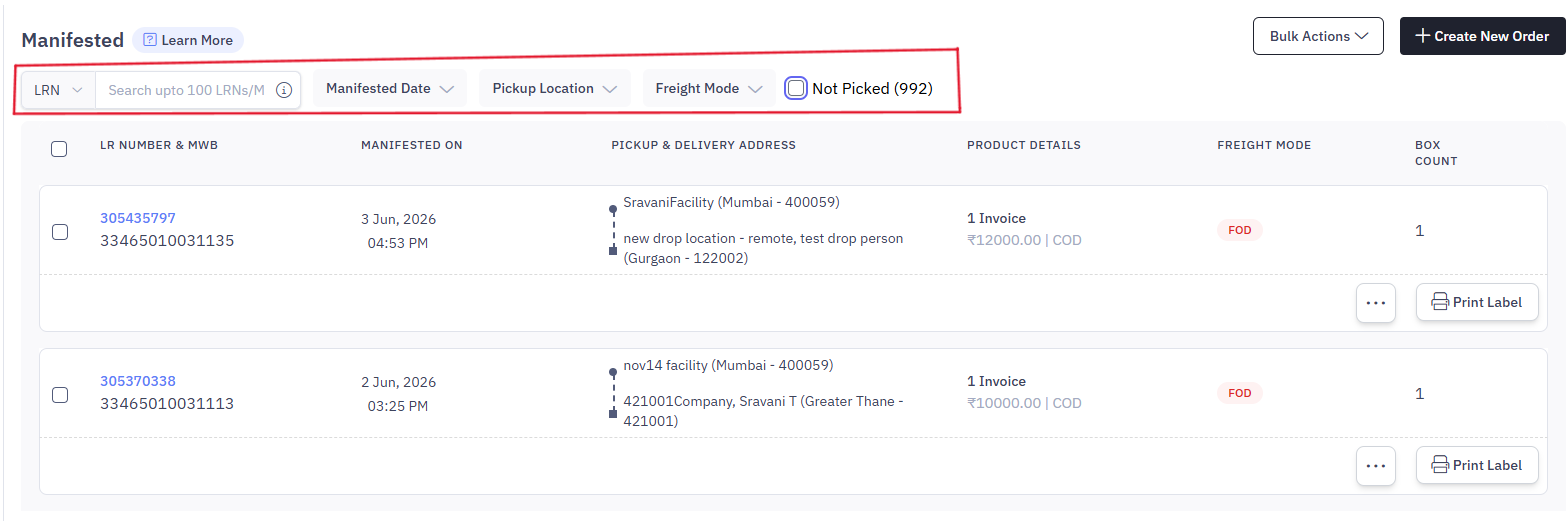
Manifested
The B2B order you create is initially created under the "Manifested" state.
You can perform following actions here:
You can search your order by LR number or Master AWB number. You can also filter your orders based on the Manifested date or Pickup location
You can check our self drop locations by clicking on the “I want to self drop” toggle if you wish to drop off your B2B shipments at one of our locations instead of arranging a pickup.
You can edit the invoice details for the respective LR by clicking on the edit icon. You can make changes to the existing invoice details or add a new invoice to the LR.
You can print shipping label of the LR by clicking on the “Print Label"
In Transit
Once our Delhivery agent picks up your order from your pickup location, the shipment moves to the "In-Transit" state.
You can perform following actions here:
You can search your order by LR number or Master AWB number. You can also filter your orders based on the Estimated Delivery Date, Pickup Location or Shipment Status (In-transit / Out for delivery)
You can edit or add invoices & e-way bill numbers to the LRs by clicking on the edit icon.
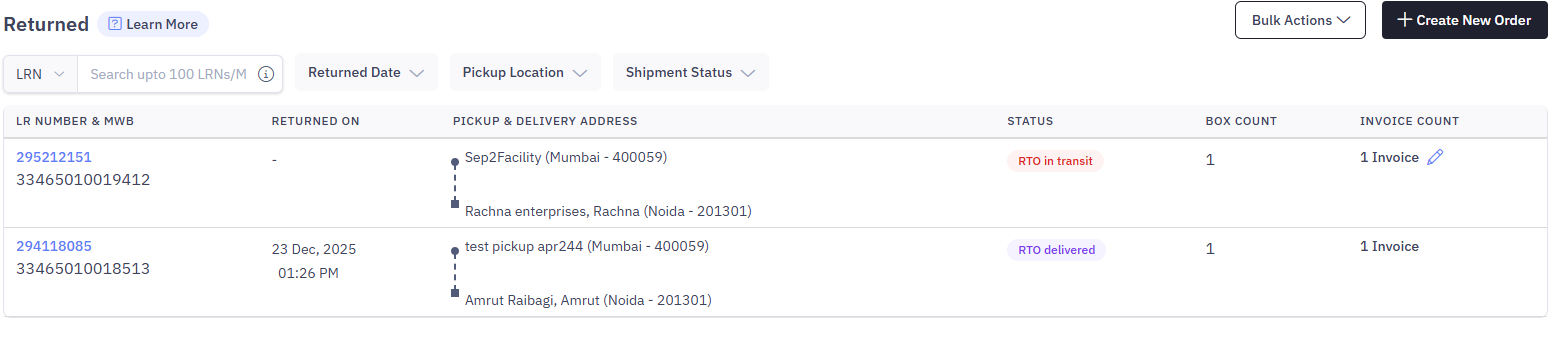
Returned
Your undelivered order and RTO order can be tracked under the "Returned" state.
You can perform following actions here:
You can search your order by LR number or Master AWB number. You can also filter your orders based on the Returned date, Pickup location or Shipment status (RTO-in transit, Returned)
You can edit or add invoices & e-way bill numbers to the LRs that are RTO-in transit or Out for delivery state by clicking on the edit icon.
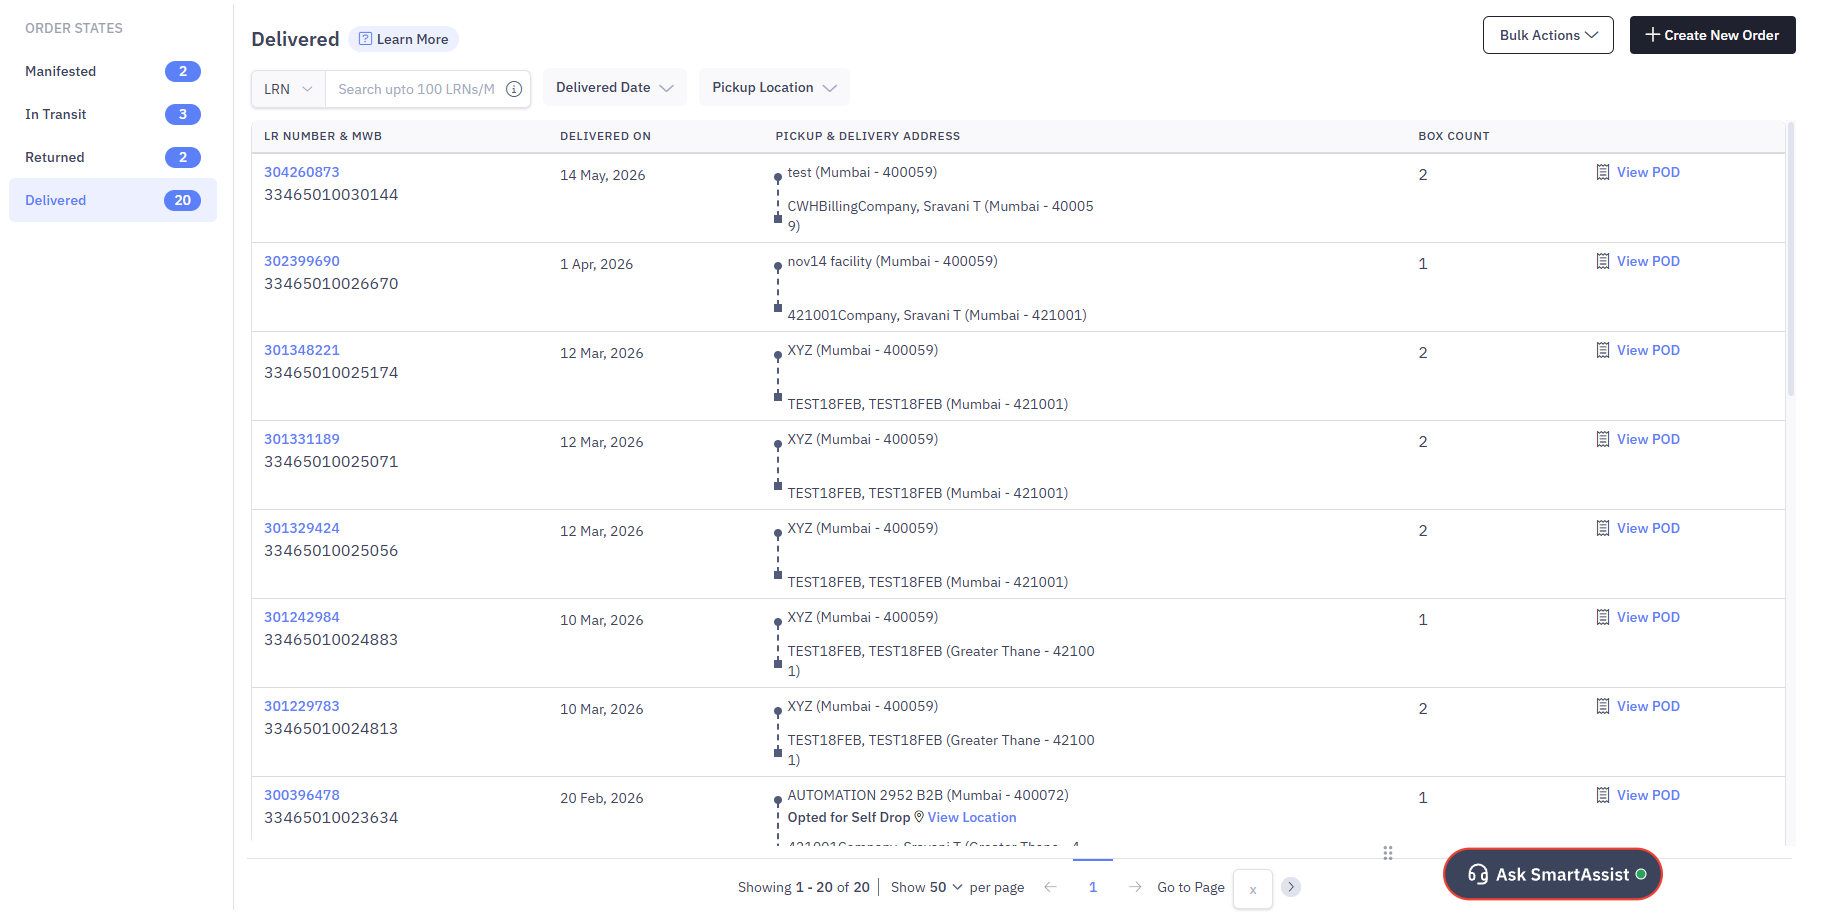
Delivered
The orders delivered successfully to your consignees can be tracked under “Delivered” state.
You can perform following actions here:
You can search your order by LR number or Master AWB number. You can also filter your orders based on the Delivered date or Pickup location
You can view and download the Proof of Delivery (POD) for respective LRs by clicking on “View POD”
B2B Order Details Page
In this section, you will understand how to read a B2B order details page.
Steps to open Order Details page:
Login to your B2B account on Delhivery One
Navigate to the Left Panel> B2B order > Tap on any of the Order state > Tap on the required LR number.
This opens the order details page for the particular LR number.
Order details page consists of the below components

This section contains shipment details, such as:
LR Number: A unique 9-digit number to represent your shipment which is used for tracking purposes.
Master AWB Number: Also a unique number to represent your shipment.
Shipment Status: Current status of the shipment. Could be Undelivered, Delivered, Returned.
Shipment Type: Indicates if your shipment is prepaid (FOD/FOP) or not.

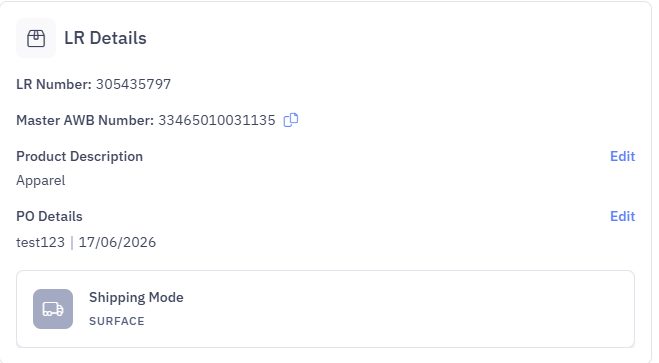
This section contains LR details, such as:
LR Number: A unique 9-digit number to represent your shipment which is used for tracking purposes.
Master AWB Number: Also a unique number to represent your shipment.
Product Description: Description of the products in your shipment (editable until shipment is in manifested state)
Shipping Mode: Mode of transporting your shipment.
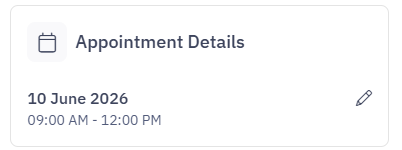
This section consists of:
Create Appointment : If you need to take an appointment with your consignee for delivery of the shipment. For more details, refer to how to create an appointment.
Print: You can print a shipping label or way bill for your shipment.
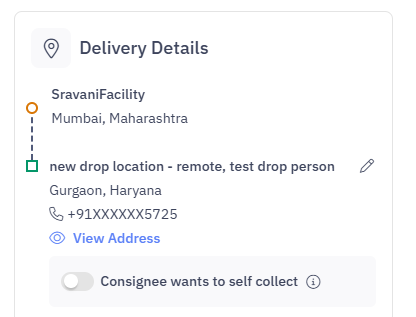
This section contains Delivery details, such as:
Pickup Location: Location from where the Delhivery agent will collect your shipment.
Drop Location: the delivery destination for your shipment. Note: Drop location is only editable in the manifested state.
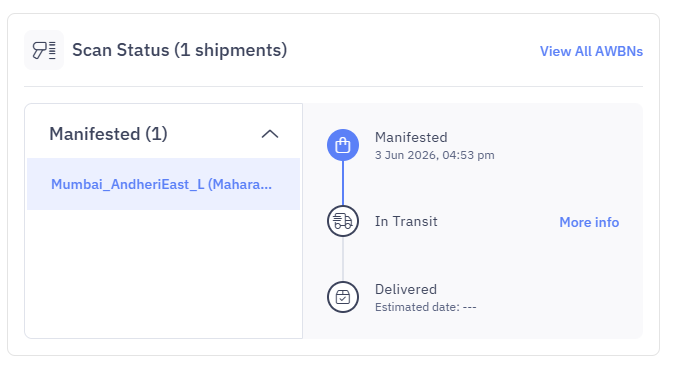
This section contains Scan details, such as:
Scan status: You can view the latest update on your shipment. Click on “More info” to view transit history for your shipment.
If the LR has multiple orders associated with it, click on “View all AWBNs” to view the latest update on each order.
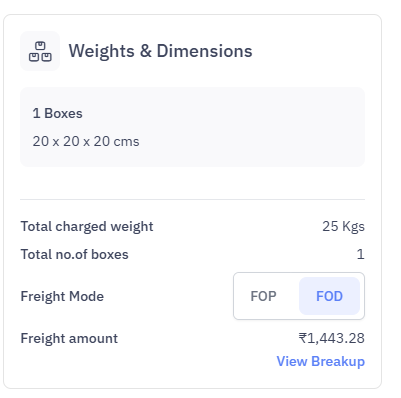
This section contains weight & dimensions of your shipment:
Weight & Dimensions: You can view the Total number of boxes, shipment weight and freight amount of the shipment
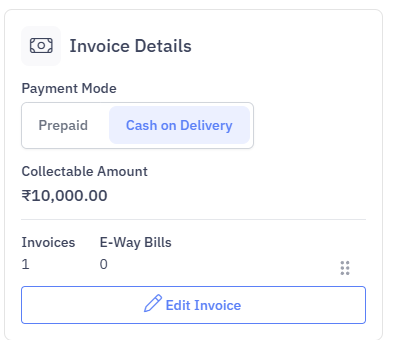
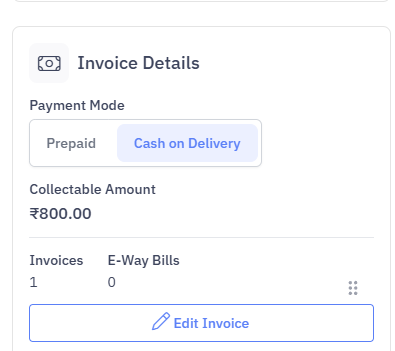
This section contains Invoice details, such as:
Payment Mode: The payment method of your shipments. Could be either Prepaid or COD
Invoice Details: You can view the number of invoices and Ewayill bills added to your shipments. Click on “Edit Invoice” to edit/add invoice to your shipment.